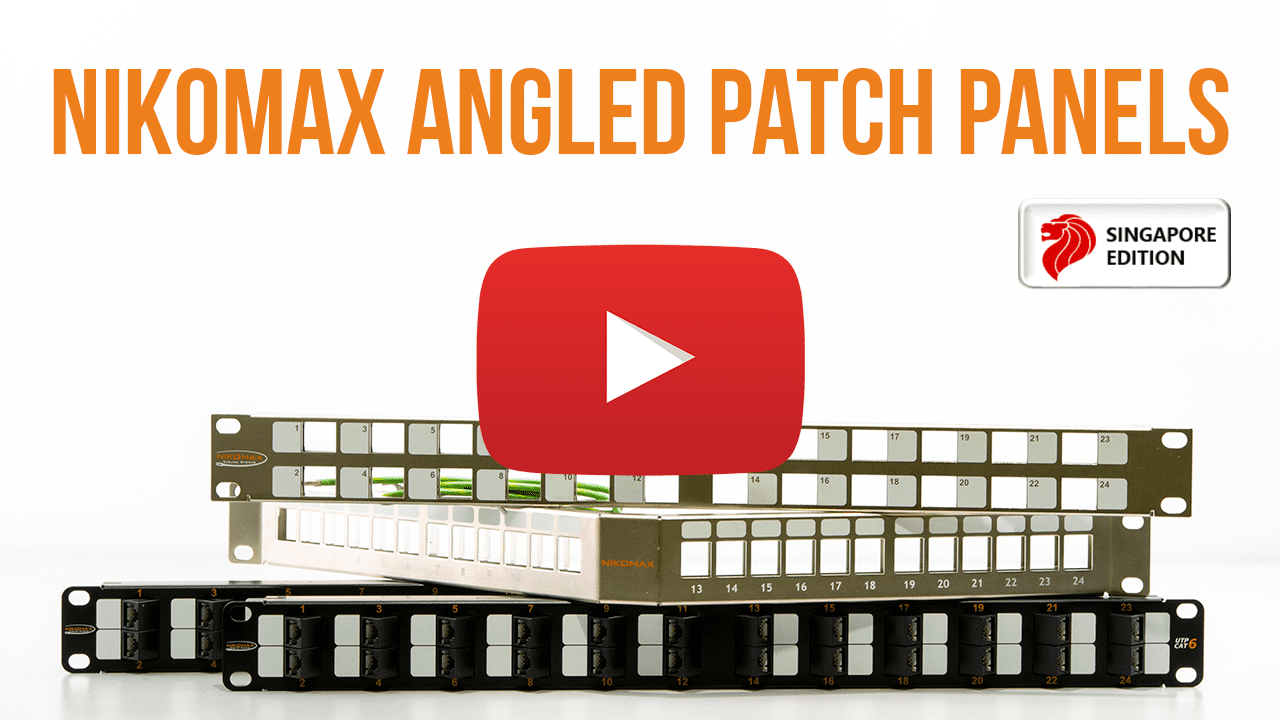
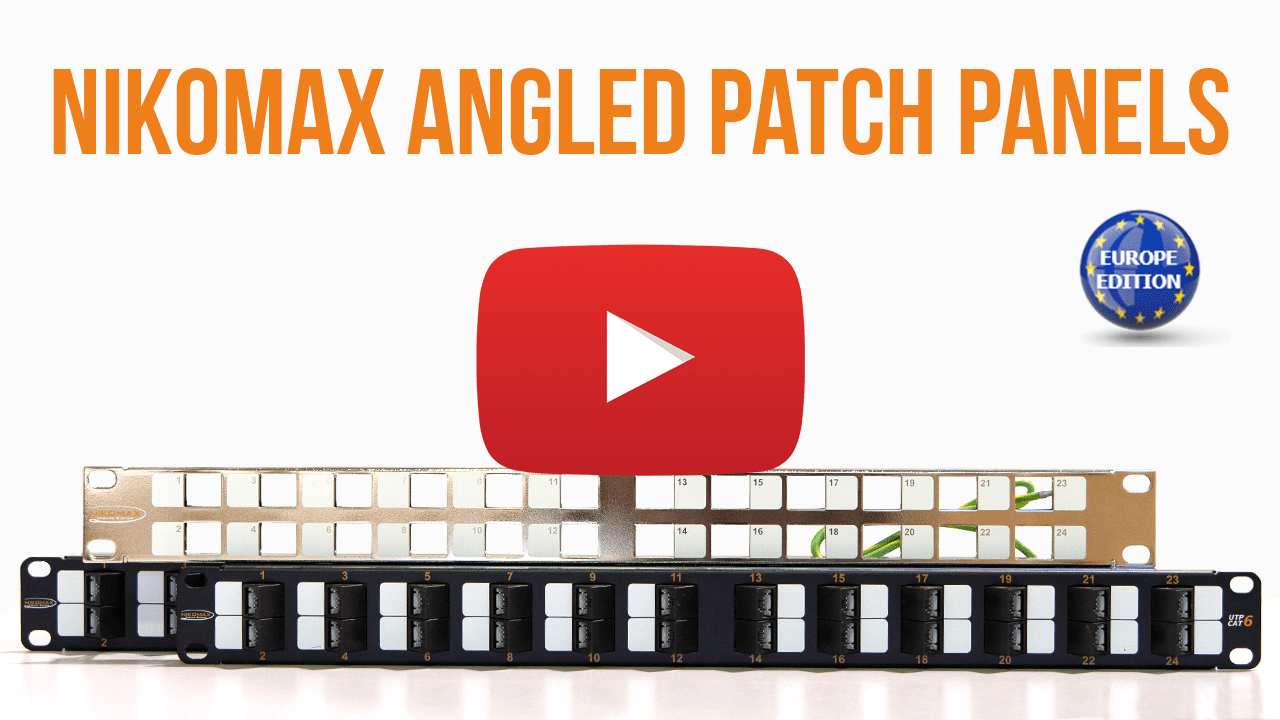
NIKOMAX Angled Patch Panels
Article 17 January 2021
The angle matters
Do you imagine the power of the ANGLE? New ideas pop into your head once you look at a problem from a different perspective – from another angle. And what if you try to insert a patch cord into a patch panel at a different angle? Will that provide you with additional opportunities? Definitely. Of course, this trick will not work with standard patch panels, but it will with angled ones.
The market is full of different choices, making the right one becomes very difficult. NIKOMAX’s mission is to make it easier for you. In pursuit of a more suitable solution, we offer some of our own, among which you will find the angled patch panel that fits your SCS perfectly.
The patch panel is a major figure in IT industry. It's the one to determine a structured cabling system. That component builds an office network piece by piece, connects all the systems among themselves, and organizes everything neatly in telecommunication cabinets and racks. Everything is in its place, and system administrator can finally find peace.
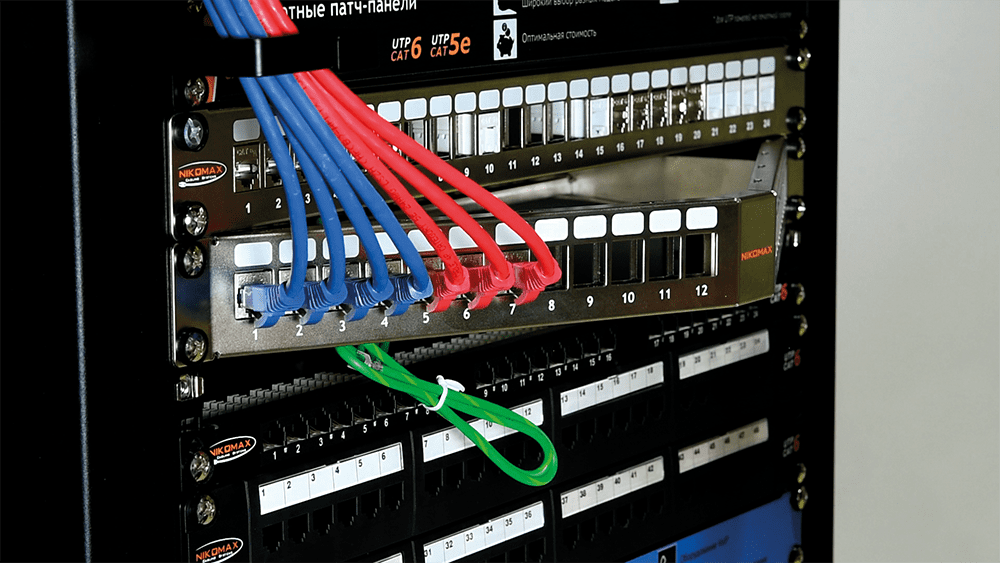
The angled patch panel preserves all functions of the classic patch panel. Nonetheless, it has one distinctive feature – a possibility to route patch cords directly into vertical organizers. And what are the main advantages of this?
First of all, it eliminates the need for horizontal cable management, thus allowing to optimize space in a rack and save money. Moreover, patch cord’s bend radius gets smaller, lengthening its lifespan. Plus, cable termination requires even less time and effort.
The NIKOMAX’s product range includes two types of angled patch panels: standard (based on printed circuit board (PCB) and modular (also known as snap-in).
Standard patch panels with angled ports
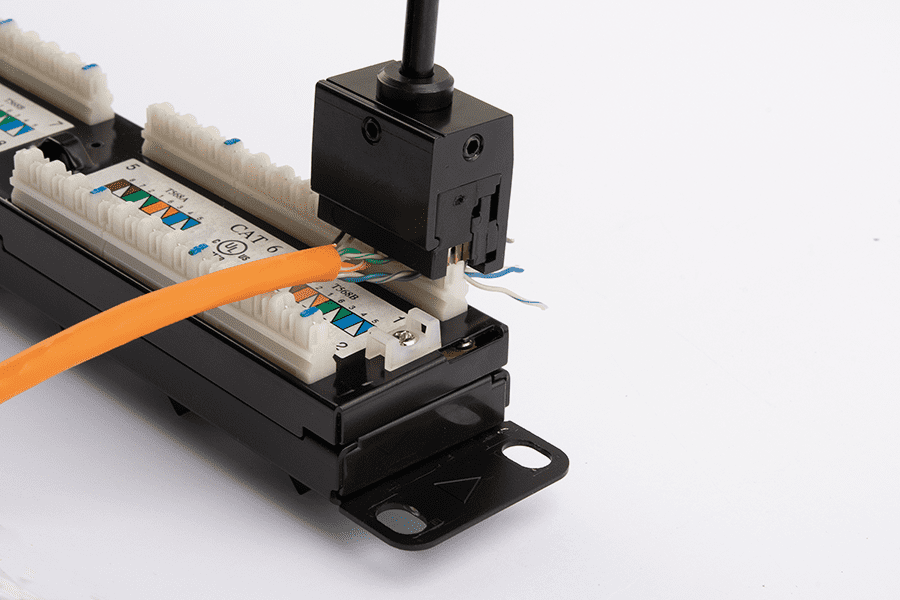
This patch panel differs slightly in size. It’s all about a mechanism that activates a signal transmission from cable to next network element. Inside there is a printed circuit board with a specific copper pattern that starts the mechanism.
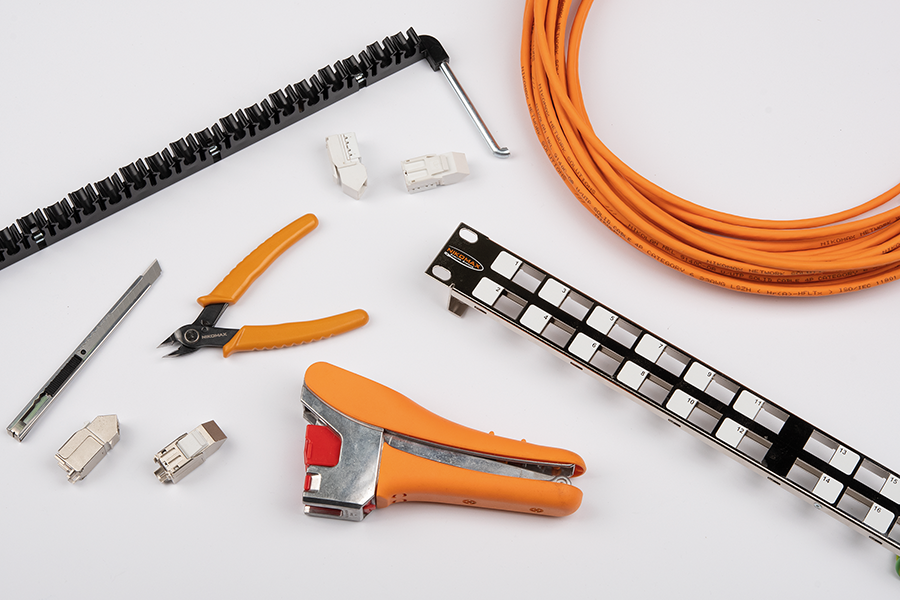
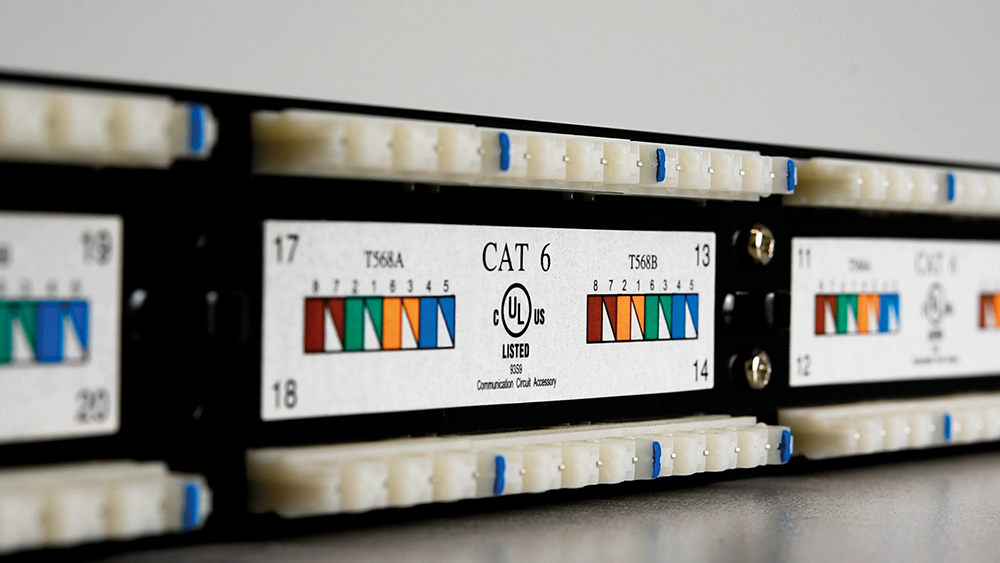
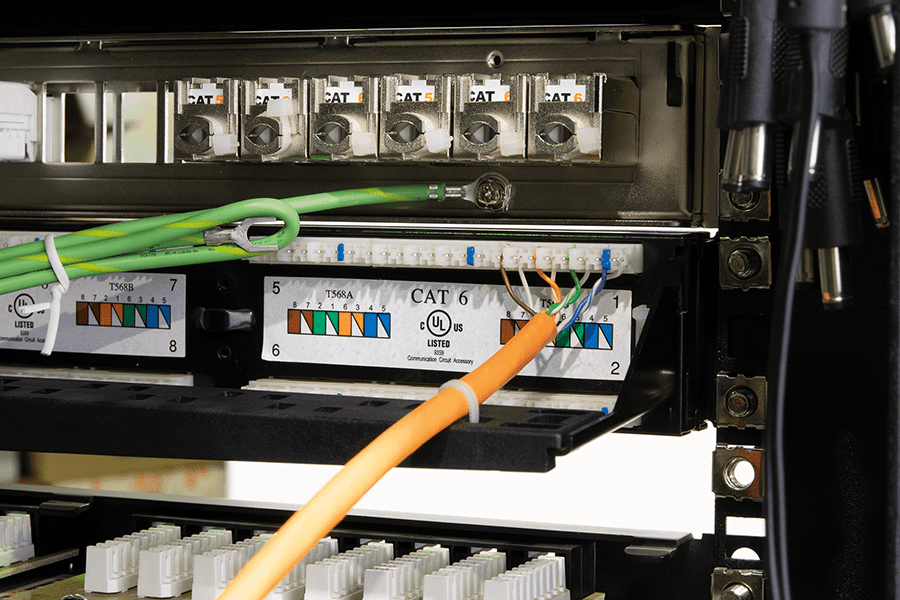
Dual IDC-contacts, placed on the board in a certain way, allow us to use both knife types (Krone and 110) for termination. The contact blades are also provided with slits. They firmly hold wires during wiring process, according to T568A or T568B standards. On the backside of the panel, there are wiring color schemes to ease the whole process. Accurate and secure cable managing is carried out through the detachable cable organizer and cable ties, which are included with the panel.
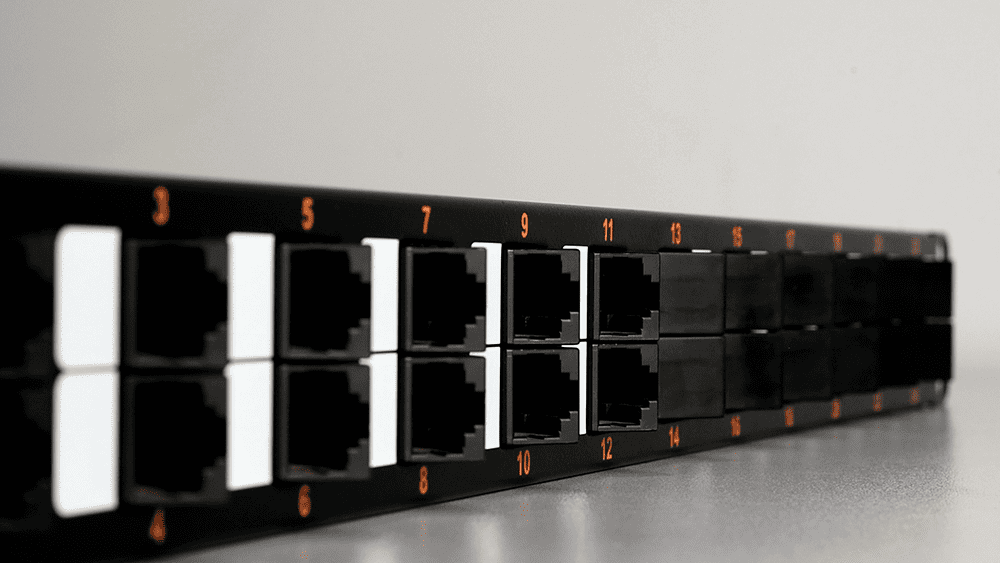
The front side accommodates two rows of numbered angled RJ45 ports. The panel’s thoughtful design provides equal patch cords distribution on its perimeter.
The contacts are covered with 50 µinch gold, guaranteeing at least 750 connection cycles. Needless to say, that each connection should be marked to simplify network administration. This is easily achievable through additional marking areas, which placed above each port.
Standard assortment includes two 1U solutions intended to install in 19” telecommunication cabinet or rack: unshielded NMC-RP24UD2-AN-1U-BK (cat. 5e) and NMC-RP24UE2-AN-1U-BK (cat. 6). These panels are made from rigid non-flammable black plastic graded V-0 according to UL94 standard.
Installation
The whole installation process is a series of sequential simple steps.
Step one. Strip off carefully required amount of cables.
Step two. Terminate wires in IDC-contacts. This might seem the most resource-consuming step at first sight. But first impressions are often deceptive. NMC-315DR is designed to terminate several pairs of wires at once. The tool provides secure sealing of wires and speeds up the whole process. Then use cable ties to fasten cables to the cable organizer.
Step three. Mount panel in a telecommunication cabinet (screws included with panel).
Step four. Insert patch cords and fix them on vertical organizers.
The patch panels with angled ports are ready-to-use SCS components with an aesthetic appearance: no vacant port will disturb a cabinet’s total look. These panels are also budget-effective solution due to the no-need of purchasing keystone jacks. Nonetheless, in case of a port malfunction, its fixing would be more difficult in comparison with the next type of angled patch panels.
Snap-in angled patch panels
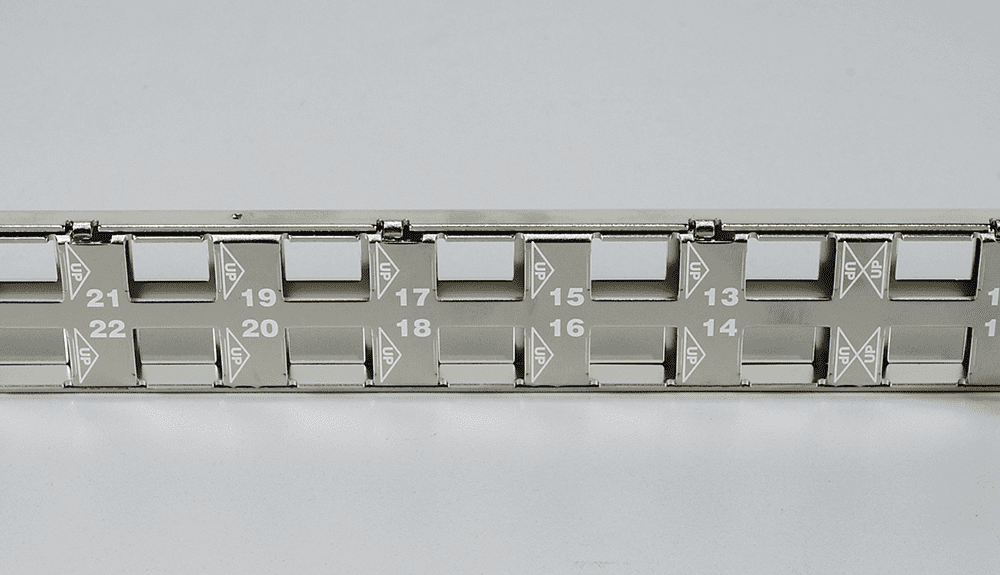
Snap-in angled patch panels are metal-made body with holes, also called nests, for keystone jacks installation. These patch panels are notable for their flexibility – they can combine keystone jacks of different constructions and from different categories which are placed on a single frame.
NIKOMAX’s snap-in angled patch panels are represented with two models: NMC-RP24-BLANK-AN-1U-MT and NMC-RP24-BLANK-AG-1U-MT, which is recently introduced in the product range.
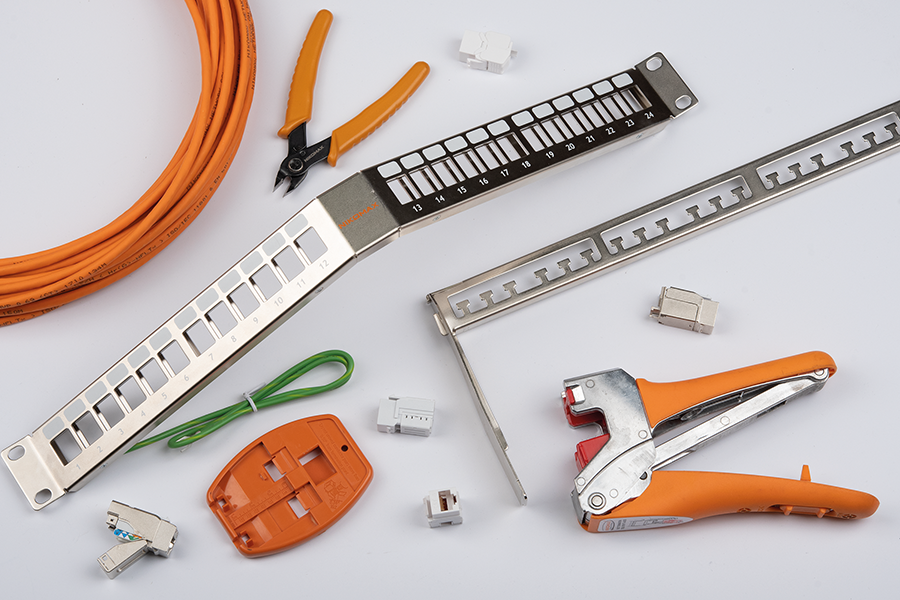
Both panels have shielded construction, standard 1U height, and accommodate up to 24 keystone jacks. Their bodies are made from 1.5 mm galvanized steel. Galvanization provides plenty of useful properties to final product, including: high resistance to corrosion, rigidity, better shielding against electromagnetic interference, etc. Moreover, the panel gets exquisite silver shining.
Despite the fact that these two models have so much in common, they differ by body design and functional capability. NMC-RP24-BLANK-AN-1U-MT is designed to be used with AN series keystone jacks (shielded and unshielded 5e, 6, 6a categories – a total of 5 solutions). These jacks are from the Fast Termination family and they are good friends of NMC-FT-TOOL. Routing of patch cords onto vertical organizers is achieved through AN keystone jacks special design, namely angled ports.
The panel's front is supplemented with marking areas; port numbering is on both sides in order to simplify the installation process and further network administration.
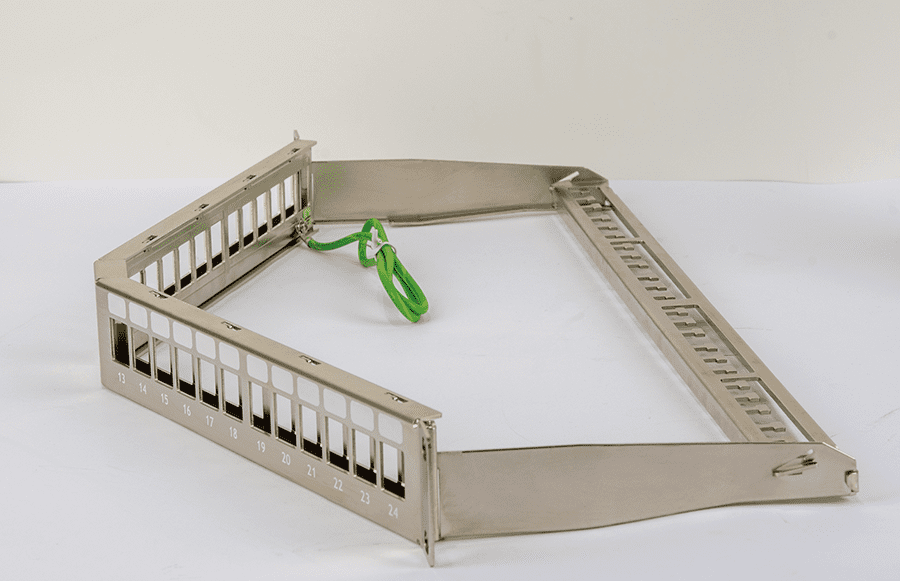
The next snap-in angled patch panel is NMC-RP24-BLANK-AG-1U-MT. In this case, it’s a panel’s body to be in charge of forming a necessary angle.
What are angled body benefits? Unlike the previous model, NMC-RP24-BLANK-AG-1U-MT is a master at combining keystone jacks of different constructions, categories, and series too. NT (toolless), standard FT series and Essential series (cost-efficient) keystone jacks are welcome to apply. Shielded and unshielded 5e, 6, 6a, 8 categories – seven solutions are at your disposal!
The only “fly in the ointment” is the panel’s size. NMC-RP24-BLANK-AG-1U-MT application depends on the cabinet’s depth.
Installation
The installation also takes several steps:
Step one. Keystone jacks termination. The process depends on the keystone jack's series:
- Use NMC-FT-TOOL for AN, FT, ST series
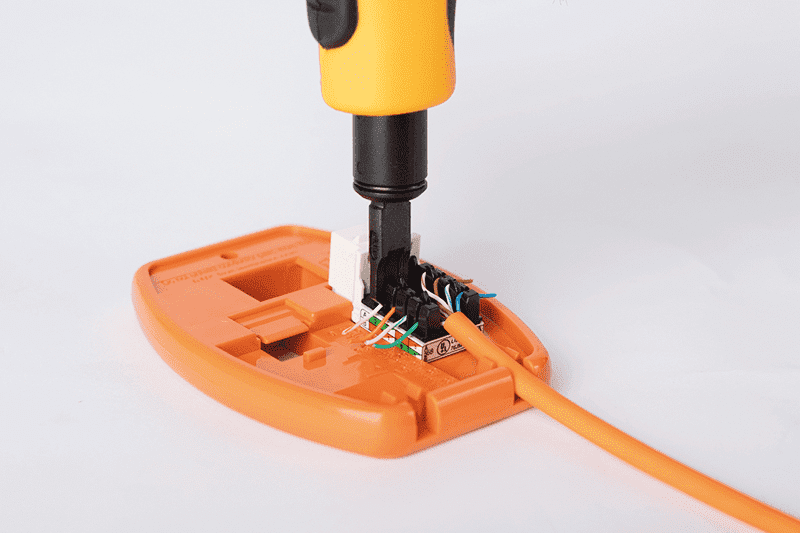
- Use punch down tool (NMC-3640R) and cable cutters (NMC-222) for standard keystone jacks and VI models of Essential series
- The termination of toolless keystone jacks (including ET models of Essential series) doesn’t require a specialized tool – just put an insert into its body, press slightly and snap it
Step two. Mount panel in a cabinet (screws included with panels).
Step three. Install terminated keystone jacks, mount cables on the cable organizer.
Step four. Insert patch cords, fix them on vertical organizers, and the installation is done.
Base your system on NIKOMAX’s components and you’ll look at it from a different angle!

